See below for steps for how to use PCmover's 'File Based Transfer' option to migrate from your old to new PC.
Notes about this method of migration:
A. Customization of transfer contents can only be done when creating a Transfer File (PCV file). Once created, a PCV file cannot be opened, altered or edited anymore; instead it can only be restored on a new PC as-is.
B. A PCV file can only be restored with the same exact version and build of PCmover that created it. It is therefore recommended that you save a copy of the full offline installer of PCmover before creating the PCV file so as to have such install available should there be the need to restore or re-restore such PCV in a more distant future.
C. If saving the PCV file into a partition or drive that is formatted as FAT32 (not recommended), PCmover will split the files into smaller parts if the PCV file is larger than 4 GB. This is a size restriction imposed by the FAT32 format. In that case, be sure to save all parts into one folder so PCmover can restore the entire migration using all of the parts created. If instead you want to manage only 1 (one) large PCV file for the creation and restoration (recommended), make sure the drive or partition you save the PCV to is formatted as NTFS.
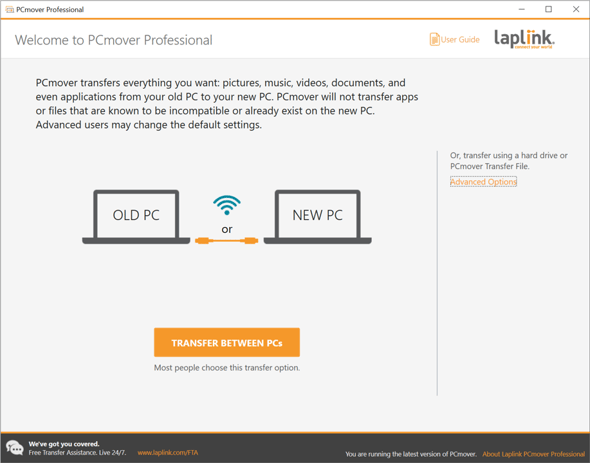
- On the OLD computer, open PCmover and click on the 'Advanced Options' link as shown here:

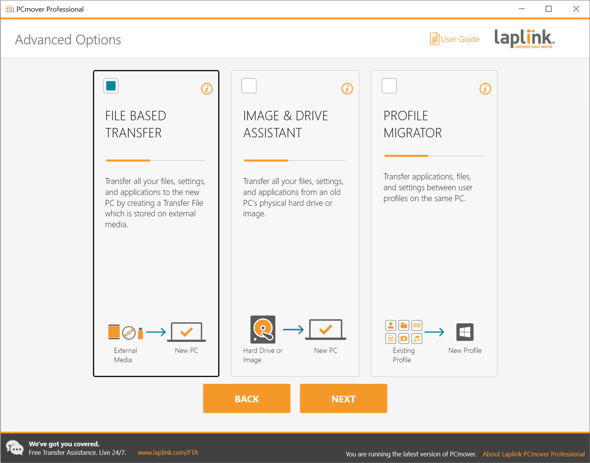
- PCmover will give you three options: 'File Based Transfer', 'Image & Drive Assistant', and 'Profile Migrator' as displayed on this screen. Choose 'File Based Transfer' and click 'Next'.
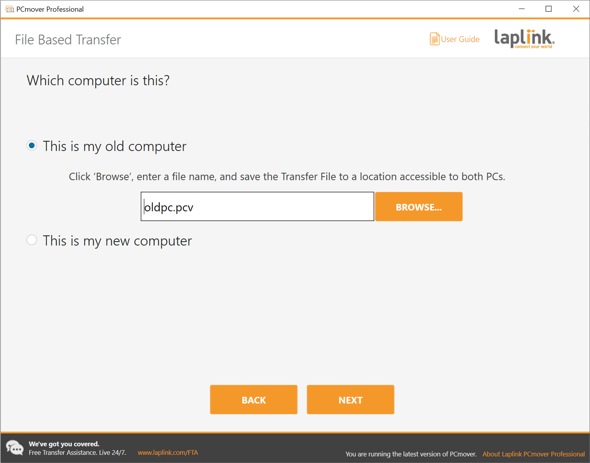
- Select 'This is my old computer'. Click on 'Browse' and enter a .pcv file name and the location where the .pcv file will be stored (external storage recommended). Click 'Next'. In this simple example, the Transfer File is named old.pcv. Click 'Next' to start the PC scanning process.
Please be patient as the scanning process runs. It can take a few minutes to a few hours depending of the amount of data in the old computer. You will see a progress bar. - When scanning is done, you will see the screen below. Click on 'Next'.
If instead of transferring everything you wish to customize the Transfer File and selectively choose the applications, files or users that you want to migrate, click on the 'Customize Transfer File' link. For more details about the customization feature, see page 13ff. in the PCmover User Guide.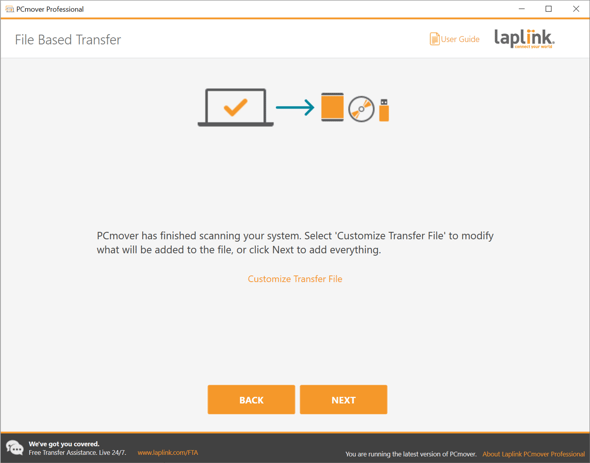
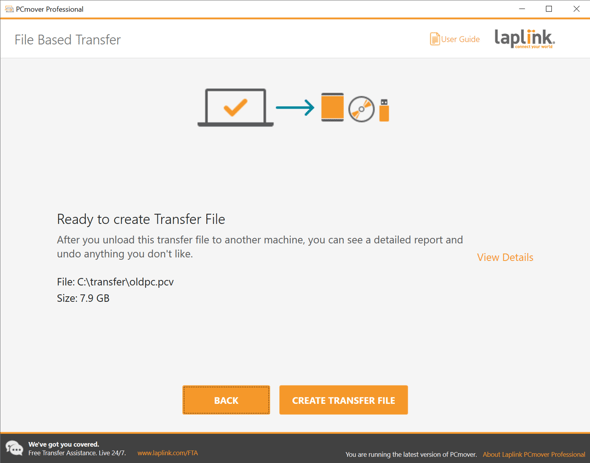
- PCmover will now calculate what to put in the Transfer File. Once it is ready to create it, click on 'Create Transfer File'.
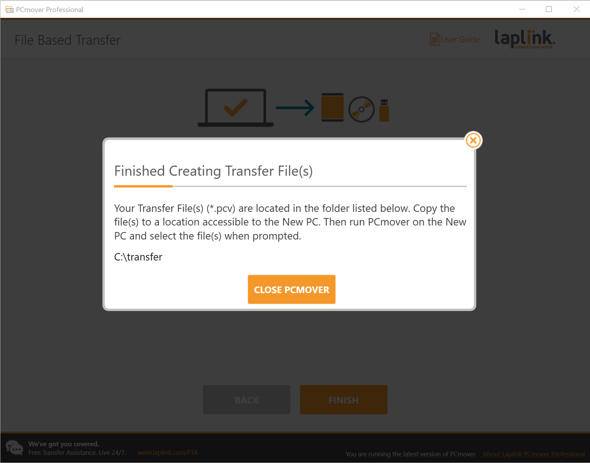
Please be patient during the creation of the .pcv file as it can take some time. - Once the Transfer File has been created, click on 'Finish', then close PCmover.
Note: Be sure to store the Transfer File in a location (or copy it to one) where the new PC can access it. Afterwards, proceed with the NEW computer directions below. - On the NEW computer, open PCmover and click on 'Advanced Options' as shown here:
- PCmover will give you three options: 'File Based Transfer', 'Image & Drive Assistant', and 'Profile Migrator' as displayed on this screen. Choose 'File Based Transfer' and click 'Next'.
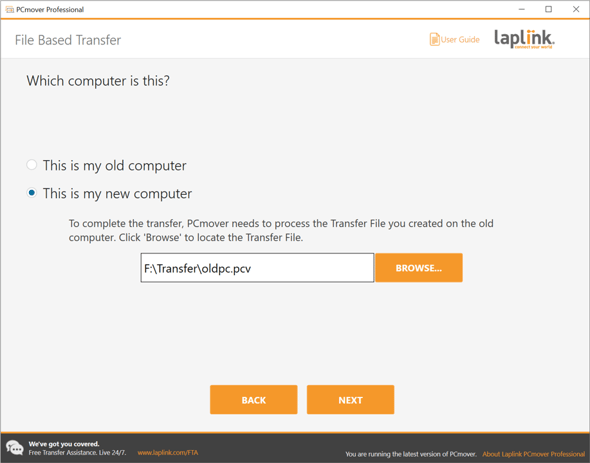
- Select 'This is my new computer'. Click on 'Browse' and point it to the location where your Transfer File is stored. Click 'Next'. In this example, the Transfer File (oldpc.pcv) is on the F: drive, F:\Transfer\oldpc.pcv.
- Once you see the screen below, click on 'Next' to unload the Transfer File to the new PC.
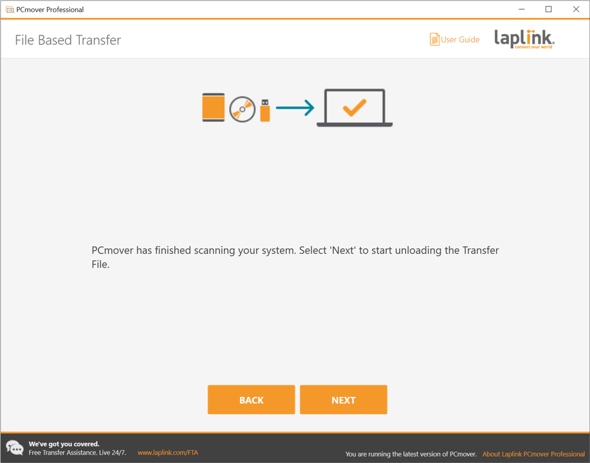
Please be patient during the unloading of the .pcv file as it can take some time. - When PCmover has finished the unload of the Transfer File, close PCmover and reboot the new computer.